Stamps, Stories, and Surfaces Reborn

Today we dive into decoupaged furniture makeovers with postage stamp collages, celebrating how miniature artworks and postmarks can revive tired tables, dressers, and cabinets. Expect practical steps, heartfelt anecdotes, color strategies, finishing methods, and community inspiration that help you transform everyday pieces into personal heirlooms filled with travel, history, and quiet beauty.

A Small History in Every Corner

Each stamp carries evidence of journeys, politics, flora, fauna, and artistic movements, often marked by cancellations that whisper about distance and time. When layered across a tabletop or cabinet door, these fragments weave a quiet museum you can live with daily, reminding you that everyday objects can hold extraordinary stories.

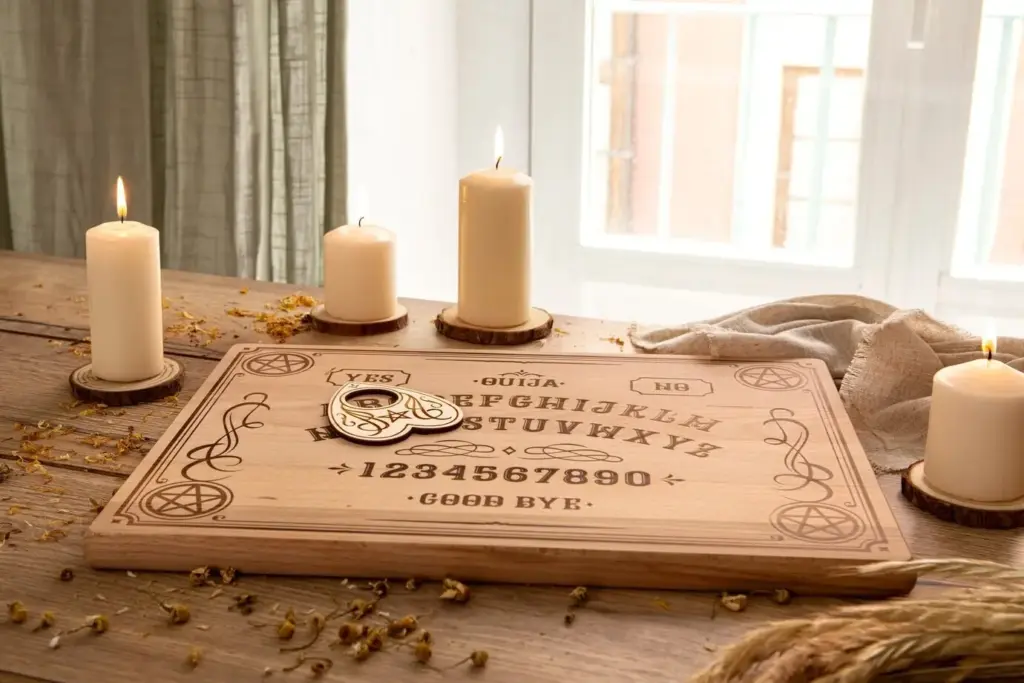
Choosing Furniture Worth Saving

Look for solid bones, smooth-opening drawers, and flat surfaces that can accept adhesive without warping. A scuffed top or stained veneer is not a deal-breaker; stamps and sealers can disguise past wear. Prioritize sturdy frames, repairable joints, and pieces that will actually be used, so your collage becomes part of daily life.

Materials and Preparation Without Mystery

Great results come from preparation: cleaning, sanding, and priming create a receptive surface; curated stamps and reliable adhesives ensure longevity. Gather soft brushes, a brayer, tweezers, archival-quality glue, and patient hands. The right groundwork gives you freedom to compose confidently and correct gently when edges lift or bubbles threaten.

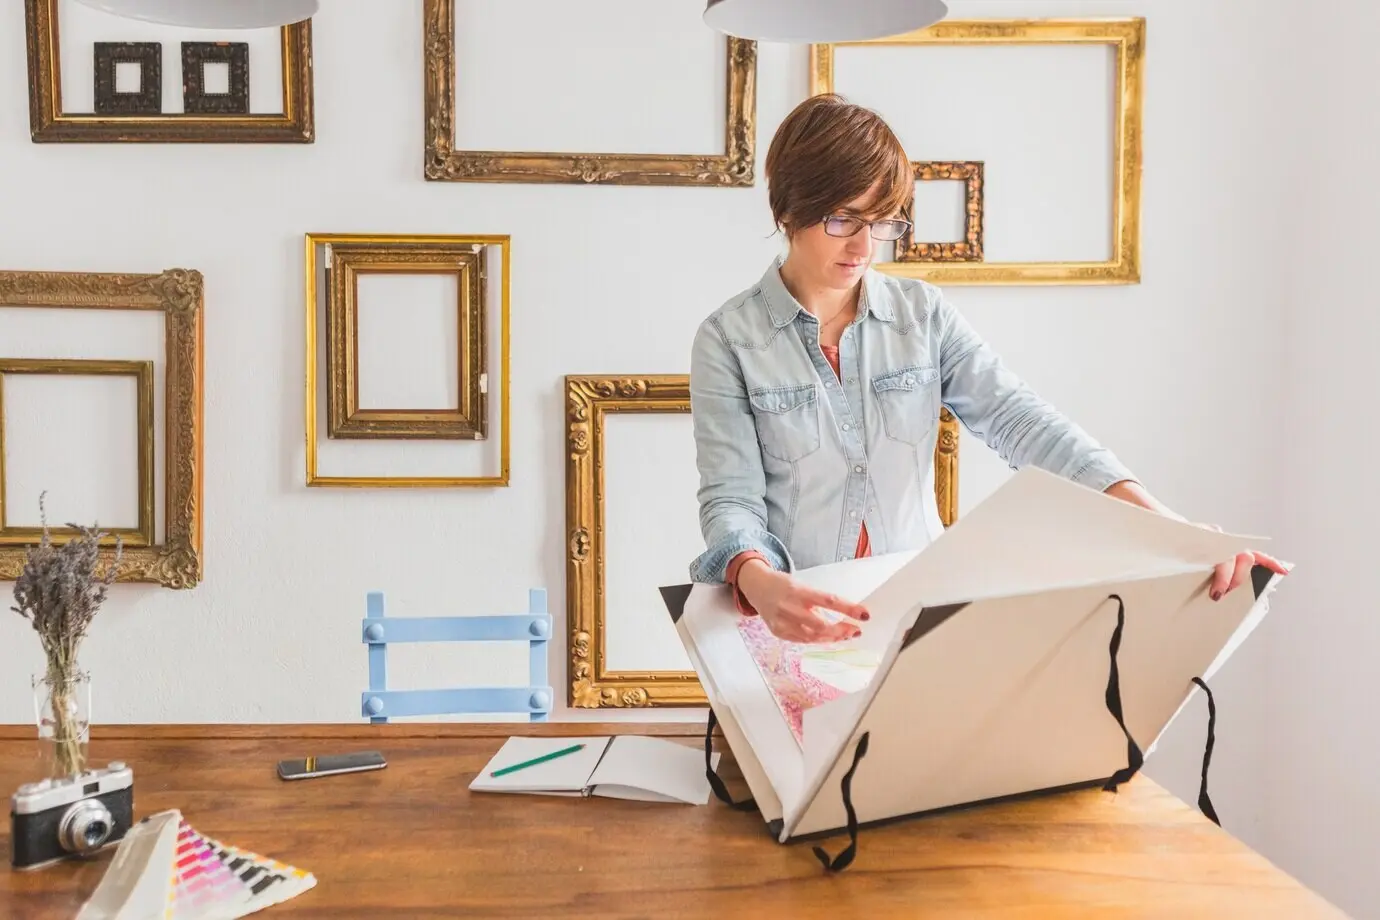
Selecting the Right Stamps

Build a palette rather than a pile. Sort by color families, subject matter, size, and paper thickness. Consider cancellation marks as graphic elements that can unify disparate designs. Favor used stamps with personality, but keep a few pristine pieces for focal accents where clarity and brightness will anchor wandering eyes.

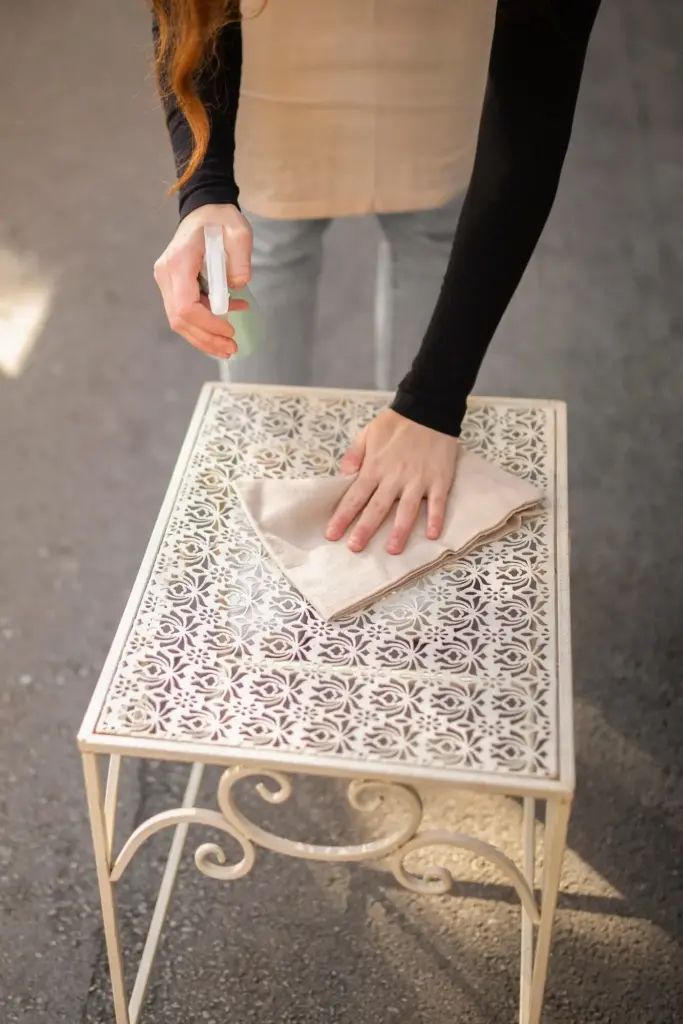
Preparing Furniture for Adhesion

Degrease thoroughly, sand to dull glossy finishes, and wipe away dust before priming with a compatible base coat. A smooth, slightly toothy surface helps thin papers lay flat. Test a small area first; your primer’s sheen and tint subtly influence colors, especially pale stamps and translucent edges near overlapping zones.

Adhesives, Brushes, and Essential Tools

Use a decoupage medium or archival PVA thinned appropriately for controlled glide. Keep a soft brush for spreading, a small silicone squeegee or brayer for pressing, and tweezers for precise placement. Paper towels, cotton swabs, and a craft knife help manage seepage, trim edges, and gently lift misaligned pieces without tearing.

Color Harmonies and Value Mapping

Lay out your stamps on a neutral board and squint to judge light and dark groupings. Build gradients that drift across the surface, or cluster complementary colors for gentle vibration. Use neutrals and muted cancellations to rest the eye, surrounding bold hues with calmer neighbors that emphasize their spirited, memorable punch.

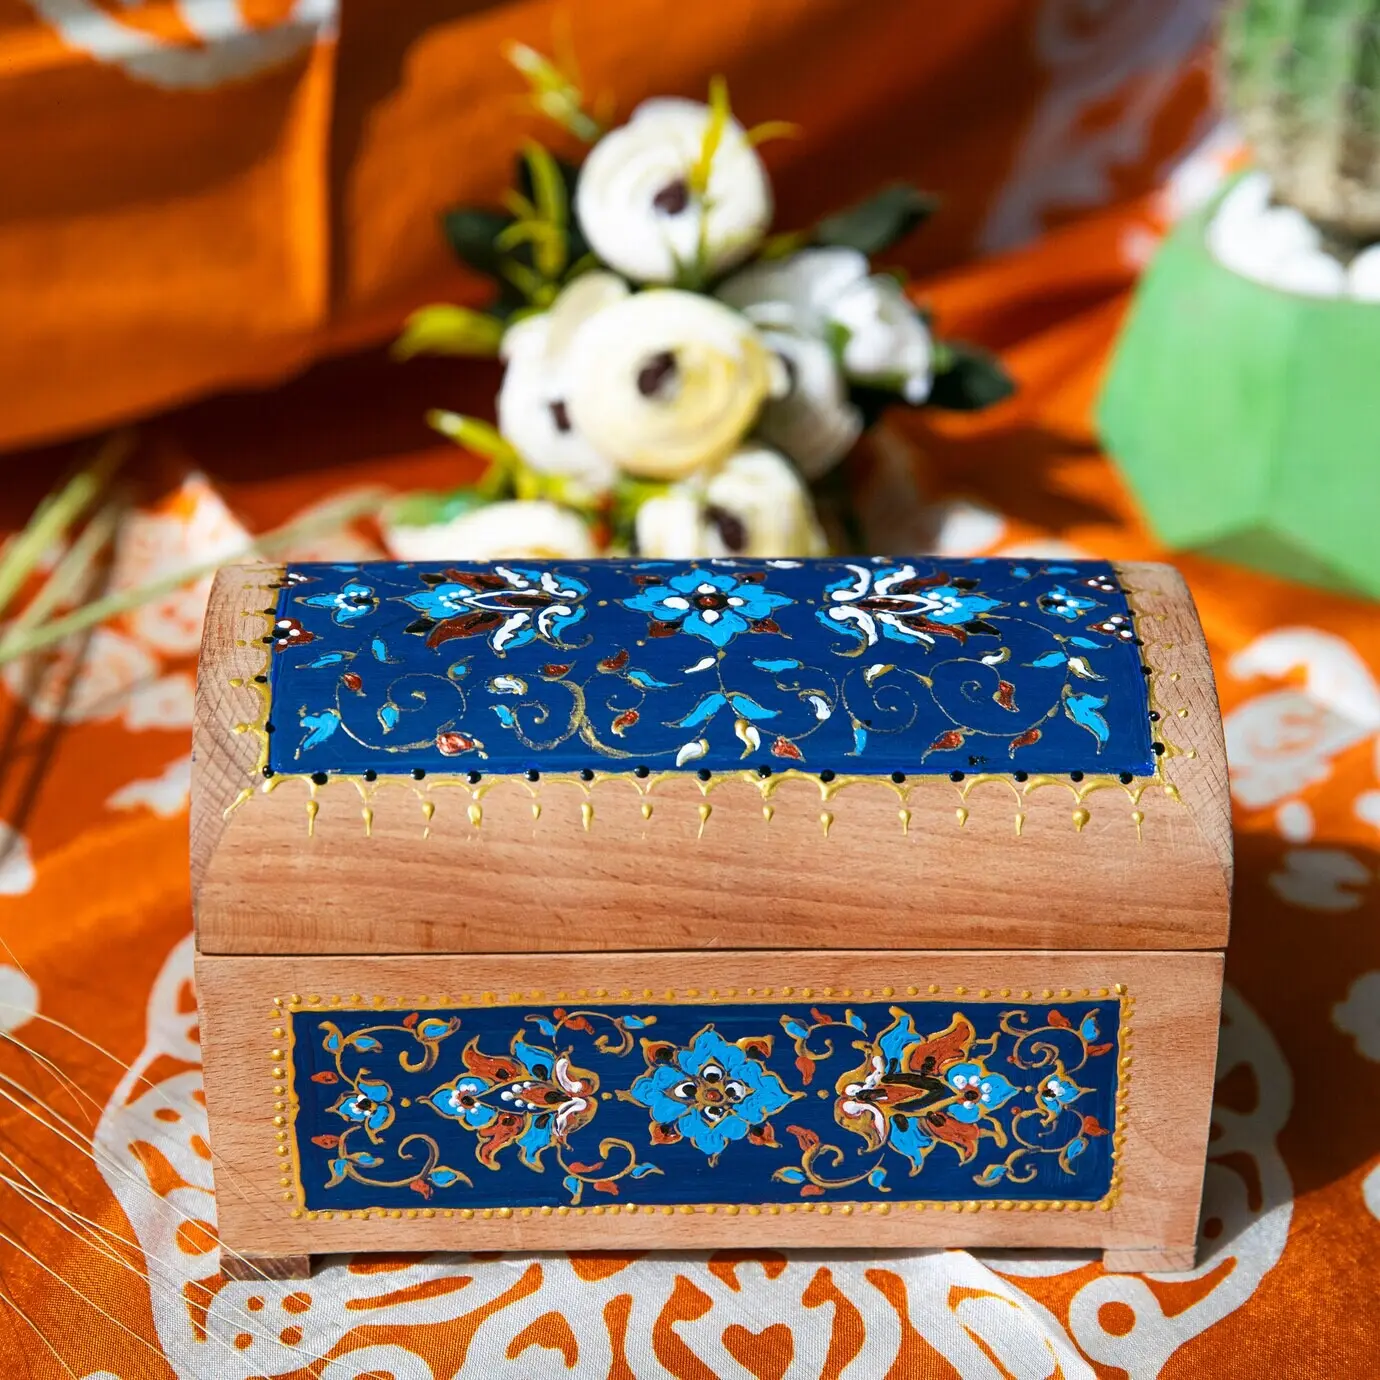
Motifs That Tell a Story

Choose a narrative axis: journeys, botany, architecture, portraits, or scientific curiosity. Arrange stamps to suggest chapters, perhaps beginning at a drawer pull and radiating outward. Repeating motifs act like recurring characters, while rare stamps become climactic scenes. Balance surprise with coherence so discovery feels guided rather than accident-prone or confusing.

Technique Deep Dive: Application That Endures

Paper can wrinkle, bubble, and lift unless you control moisture, pressure, and drying time. Work methodically in small zones, glue thinly, and press from center outward. Let layers cure before sealing. Patience here translates into smooth surfaces, crisp details, and finishes that shrug off daily use gracefully.

01

Wrinkle-Free Placement

Apply a thin, even coat beneath each stamp and a whisper-light layer on top only after it grips. Roll gently with a brayer while supporting delicate paper with parchment. If bubbles appear, pause, lift carefully with a knife tip, vent trapped air, and smooth again before committing with additional medium.

02

Respecting Delicate Papers and Inks

Some inks are water-sensitive and may blur under aggressive brushing. Test suspect stamps separately. If edges feather, pre-seal with a mist of clear archival spray. Use minimal strokes, working in one direction to avoid scrubbing. When in doubt, let moisture flash off briefly before laying a protective top pass.

03

Sealing for Daily Life

After thorough drying, build multiple thin topcoats, allowing proper cure between layers. Matte finishes feel vintage and forgiving; satin balances glow and subtlety; gloss amplifies color depth dramatically. For tabletops, finish with a durable water-based polyurethane. Always sand ultra-lightly between coats to maintain clarity and avoid cloudy build-up.

Stories from the Workshop

Real projects reveal the joy and pitfalls of the process. These vignettes show how personal histories, unexpected mistakes, and patient problem-solving can turn humble furniture into treasured companions. May they spark your imagination and encourage you to begin, experiment boldly, and share your own discoveries with us.
A weather-beaten steamer trunk inherited from a grandmother arrived covered in scratches and secrecy. Travel stamps from ports she loved wrapped the lid, while muted airmail borders framed brass latches. Each scuff became part of the narrative, sealed beneath satin layers that now gleam softly like distant lights across water.
A thrifted nightstand bubbled relentlessly during the first attempt, teaching the value of thinner glue and deliberate pressure. Cooling the room, working smaller sections, and pre-flattening stamps under books solved everything. Today it sits calm by the bed, a constellation of blues guiding late-night reading without demanding attention.

Care, Styling, and Sharing Your Work

Thoughtful maintenance preserves color and paper integrity, while smart styling highlights texture and narrative. Guard against direct sunlight, clean gently, and explain care to future owners. Photograph your results, post progress shots, and invite questions. Community exchange multiplies learning, confidence, and the courage to start the next piece soon.
Partibersatusabah
Privacy Overview

This website uses cookies so that we can provide you with the best user experience possible. Cookie information is stored in your browser and performs functions such as recognising you when you return to our website and helping our team to understand which sections of the website you find most interesting and useful.